If you’re considering launching your eCommerce business in the Philippines, Shopee is an excellent platform to start your journey. What makes Shopee a great choice?
Aside from its popularity, it’s designed with Filipino sellers in mind, they offer a user-friendly interface and powerful tools to help your operation business.
Ready to kickstart your eCommerce journey? In this blog, we will guide you the 7 steps to start selling on Shopee Philippines. We’ll also break down the Shopee Selling Fees.
Step 1: Set Up Your Seller Account on Shopee
Step 2: Verify Your Seller Account
Step 3: Set Up Your Shop Profile
Step 4: Set up Your Pickup Address
Step 6: Shipping and Seller Fee
Step 7: Tools for Boost Your Shop
Step 1: Set Up Your Seller Account on Shopee
By all means, you can visit the Shopee App and website to create a seller account.
In case, you can use the mobile number, Google or Facebook account for Sign Up.

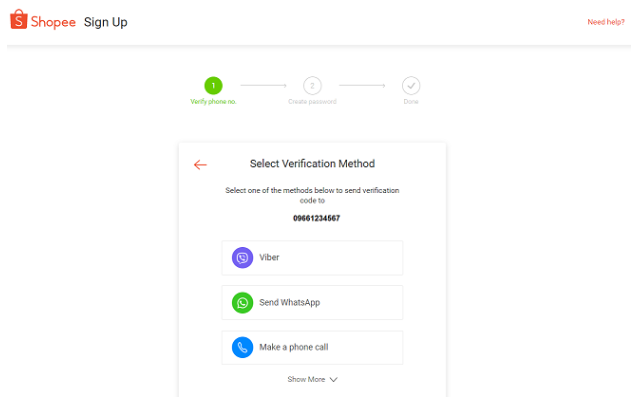
Step 2: Verify Your Seller Account
You should add and verify your mobile number and email address to complete your sign-up process.
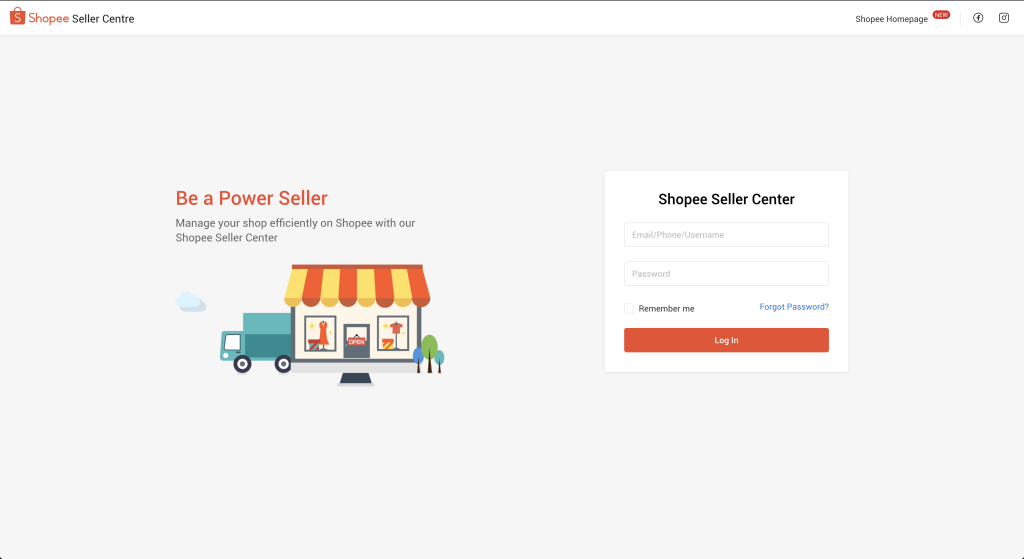
Then, you can log in to your Seller Center using your Shopee account username and password.
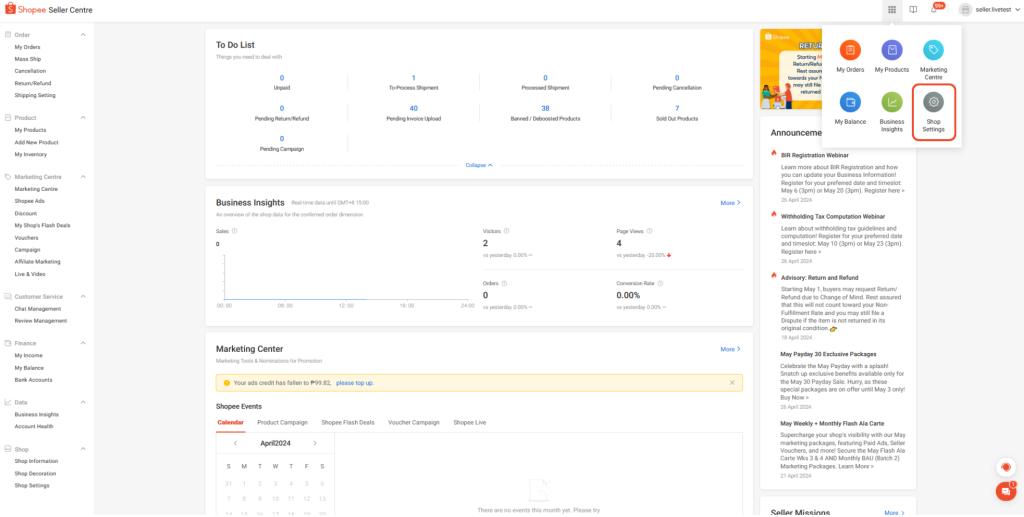
Step 3: Set Up Your Shop Profile
Fill in your shop information, then go to Shop Setting to customize details such as Shop Name, Shop Logo or Video and Shop Description.
You will need to decide a Seller Type on Shopee
- Official Shops
- Preferred Sellers
- Overseas Sellers
- Marketplaces Seller
To set up your Shop Profile, go to Shop Settings.
In other words, you need to fill up your business information. You may select if you are an individual or business at least a corporation and more.

If you have a Taxpayer Identification Number (TIN), kindly provide the following:
- Taxpayer Identification Number
- Copy of your BIR Certificate of Registration Form (BIR 2303)
- Business Name/Style

After filling all the information, review again to make sure all the information was correct and click submit.
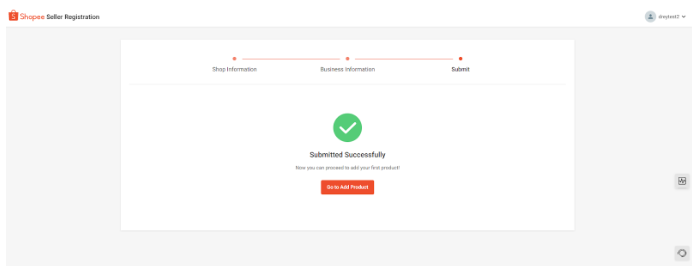
Step 4: Set up Your Pickup Address
Log in to Seller Center account, then click on Shipping Setting > Shipping > Address Management.

Click on + Add a new address > Fill in the contact and address details > Set As Pickup Address.

Step 5: List Your Products
In summary, here is an overview of the steps to listing your product.
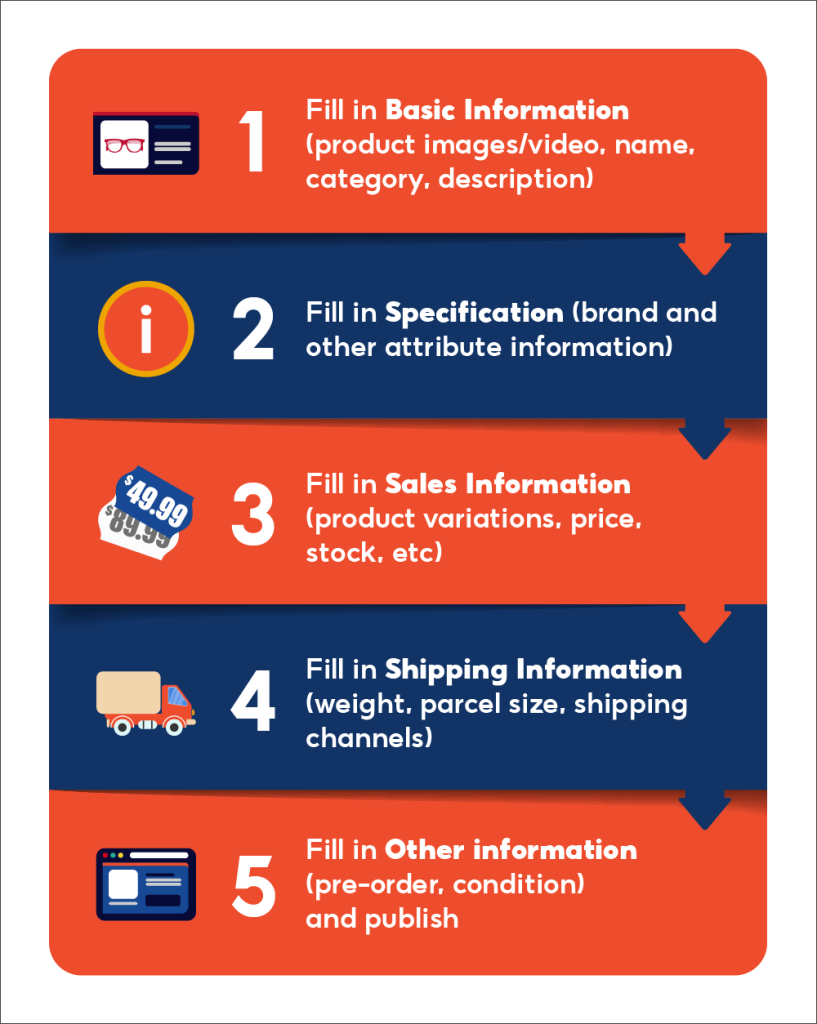
1. Fill the Basic Information
You should upload:
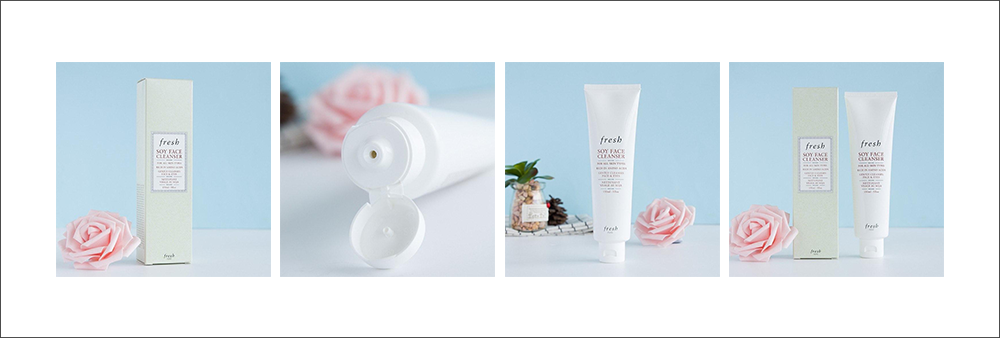
- Product Images and Videos (Cover Photo is mandatory)

Listings with multiple high-resolution images that show the product clearly tend to attract more buyers.
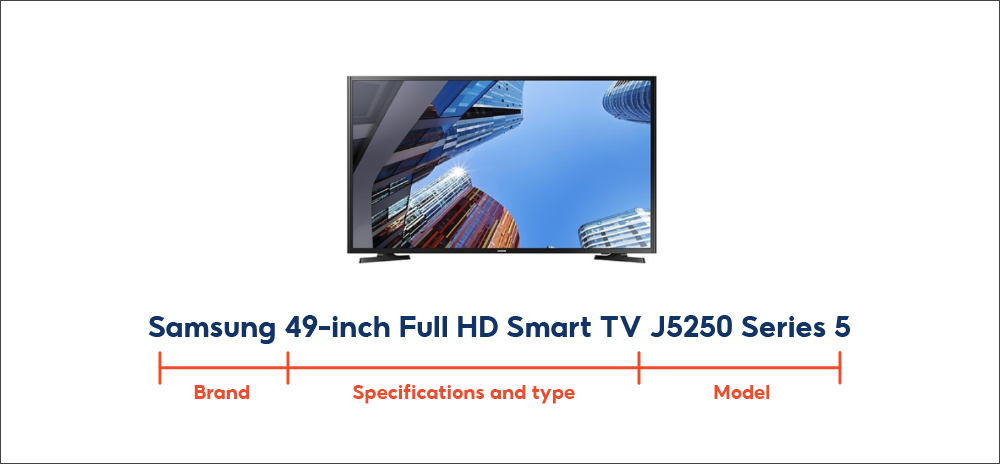
- Product Name (mandatory)

You can try using this format for naming your product: (Brand + Specification and type + Model)
- Category (mandatory) & Product Description (mandatory)
Providing a detailed product description to highlight your product’s benefit and selling points.

2. Fill the Specification
This was to help shoppers understand your products better.

Example the product information for perishable items:
For perishable items (sub-categories under Food & Beverages and Health) should fill in the Expiry Date attribute to avoid Return/Refund cases.
Indicated Expiry/Best Before date should be at least three (3) months before its expiration.
3. Fill the Sales Information
You should upload the sale information including:
- Variations (optional)
Such as product size and colour. Each product can have up to 2 types of variations.
| Type of Variations | No variation | 1 variation type | 2 variation types | Example of usage | Products with no variation type | Products with 1 type of variation, such as a hat with colour options | Products with 2 types of variations, such as an Laptop in different colours and memory sizes |
|---|
If your product has 2 types of variation, please follow this step:

- Price (mandatory), Stock (mandatory) and Wholesale (optional)

- Size Chart (optional)
Depending on your product, you can upload a size chart to help shoppers find the best fit.This also helps to boost customer confidence, increase sales, and reduce returns.
Example: A size chart for a Women T-shirt

If you were selling pants, the measurements in a size chart was waist, inseam length, length, rise.
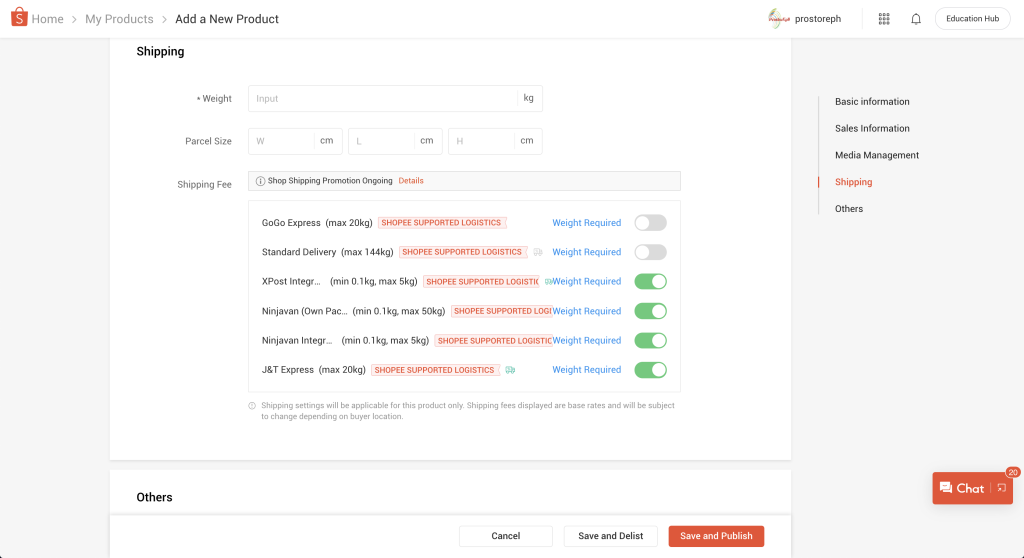
4. Fill in Shipping Information
The Shipping section contains 3 key components:
- Weight (kg) (mandatory) & Parcel Size (optional)

- Shipping Fee (mandatory)
Enable at least 1 shipping channel as a shipping option for this product, so that you can successfully list it.
5. Fill in Other information
Other information such as the Condition of your product and indicate if your product is a Pre-Order. You are also able to share your products listing on social media platforms.
After all, select the Save and Publish to upload your product listing.
Step 6: Shipping and Seller Fee Shopee
Shopee Supported Logistics is the third-party logistics provider that worked with Shopee to help you efficiently ship out your orders.
First and foremost, you can choose which shipping channel or other logistics provider you wish to use.
Shopee Supported Logistics include:
- SPX Express (Standard Delivery)
- J&T Express
- XDE Logistics
- Flash Express
- YTO Express (Sulit Local)
Other logistics providers
- Seller Own Shipping
- Other Logistics Providers
- Shipping Fee Included
The process using Shopee Supported Logistics

Starting July 1, 2024, Shopee Philippines has updated its seller fees, which will now be charged after each order is completed. These fees support platform improvements, smoother payment processing, and exclusive seller support programs.
The Shopee Seller Fees include:
- Shopee Seller Commission Fee
- Shopee Seller Transaction Fee
- Shopee Seller Service Fee
For more detail for those seller fees, click here to learn more.
Step 7: Tools for Boost Your Shop
Sharing tips can help you become a successful Shopee Seller and increase your sale. You can visit the Shopee Seller Education Hub to get the free course to boost your shop step by step.
Guideline on the Seller Education Hub
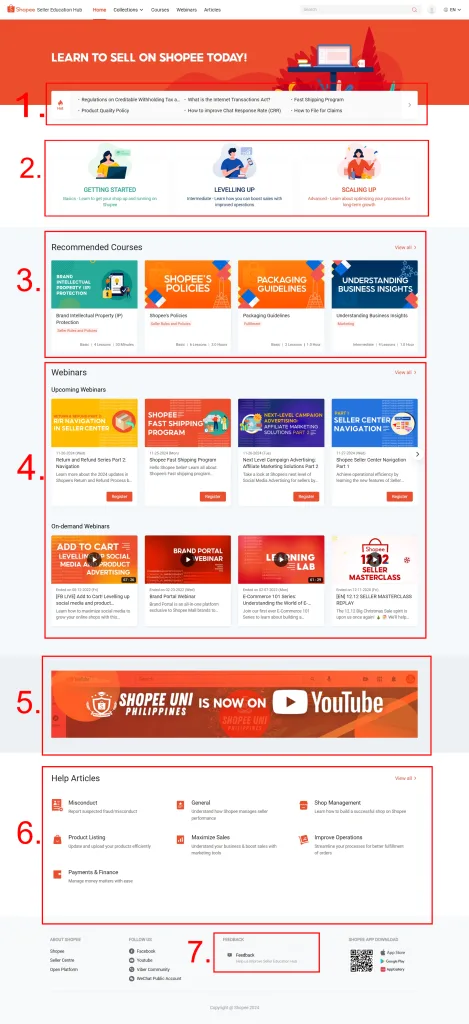
- Featured Section
This section showcases important articles and announcements.
- Collections
These contain a collection of articles based on your seller level: basic, intermediate, and advanced.
- Recommended Courses
The courses that appear here are the most visited by your fellow sellers.
- Popular Webinars
Sellers can register which upcoming webinars via Shopee account are you interested in to level up your mastery of the Seller Center.
- Shopee University Youtube Channel
When you click the banner, it will redirect you to our official Shopee University YouTube Channel for sellers.
- Help Articles
This section contains articles that aren’t part of the courses but can help answer your questions.
- Feedback
We would love to hear from you on how we can improve the Seller Education Hub.
Just a simple guide for you to become a successful seller Shopee!
More Tools for Growing Your Marketing on Shopee Philippines!
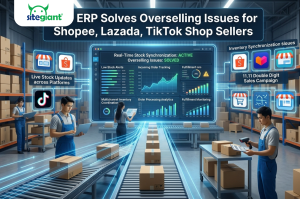
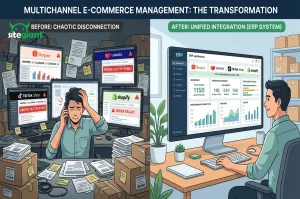
SiteGiant ERP provides powerful marketing tools to increase your sales and click-through rate in your Shopee store.
Here are the top 3 key features that might be useful to you:
- Shopee AutoBoost: Automatically boost your products every 4 hours to improve your product’s search ranking.
- Product Watermark: Apply your own watermark design or choose from our specially-designed watermark to display on your product listing in your Shoppe store.
- Marketplace Free Gift: Set up marketplace free gifts based on customer purchase prices, quantity and specific products.

Start using SiteGiant’s marketing tools today!
Image Credits and References: Shopee